Air Dry Clay Ideas for Kids: Easy Soft Clay Projects for Real Family Craft Days
Affiliate disclosure: This post may contain affiliate links. If you buy something through one of them, I may earn a small commission at no extra cost to you. I only share supplies I would happily set out on my own kitchen table.
There is a moment in clay crafting that never gets old.
A child pinches off a lump, rolls it between their palms without saying much, and twenty minutes later hands you a turtle. The smile is crooked. One leg is shorter than the others. And it did not exist before your child decided it should.
That is the whole reason I keep a box of soft air dry clay in the craft bin.
Most of us are not looking for another complicated project. We want something that pulls kids away from screens, keeps their hands busy, and does not leave us scrubbing something out of the grout at ten at night. The soft, colorful kind of air dry clay is one of the few crafts that actually delivers on all three.
No kiln. No oven. No paint. No sculpting background. No perfectly styled craft room.
You cover the table, hand out a few colors, and let them go.
Some pieces will turn out sweet. Some will lean. Some will have too many eyes, and that is genuinely fine. Below you will find ten themes to start with, a long list of extras for the next rainy day, and the practical bits nobody mentions until you are already elbow deep in it.
First, a Quick Note on the Two Kinds of Air Dry Clay
This trips up almost everyone, and it matters, because the two types behave nothing alike.
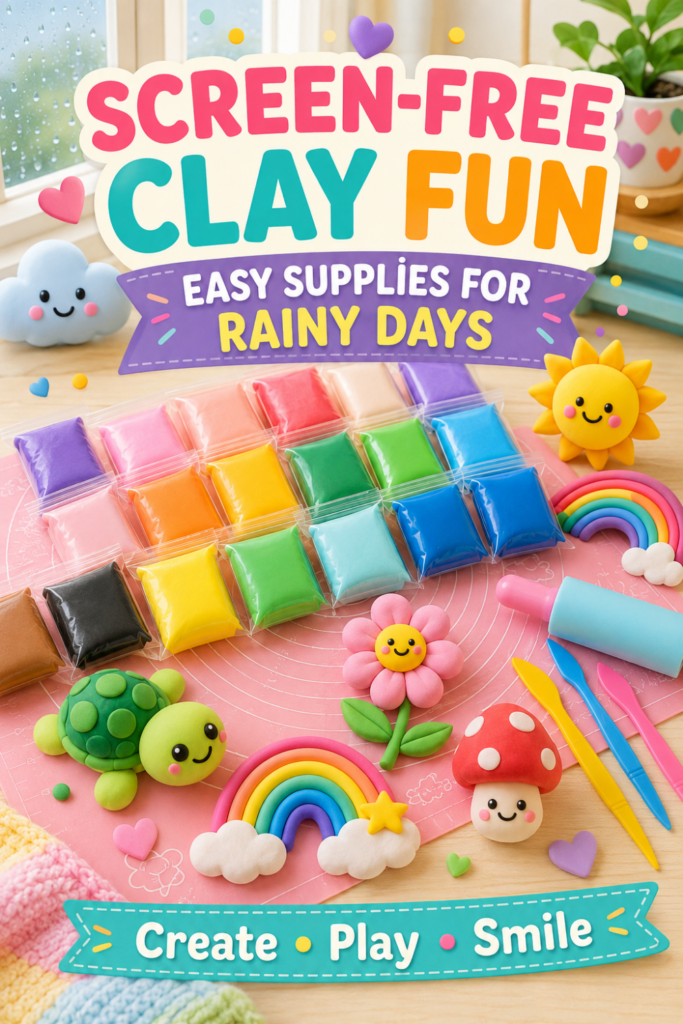
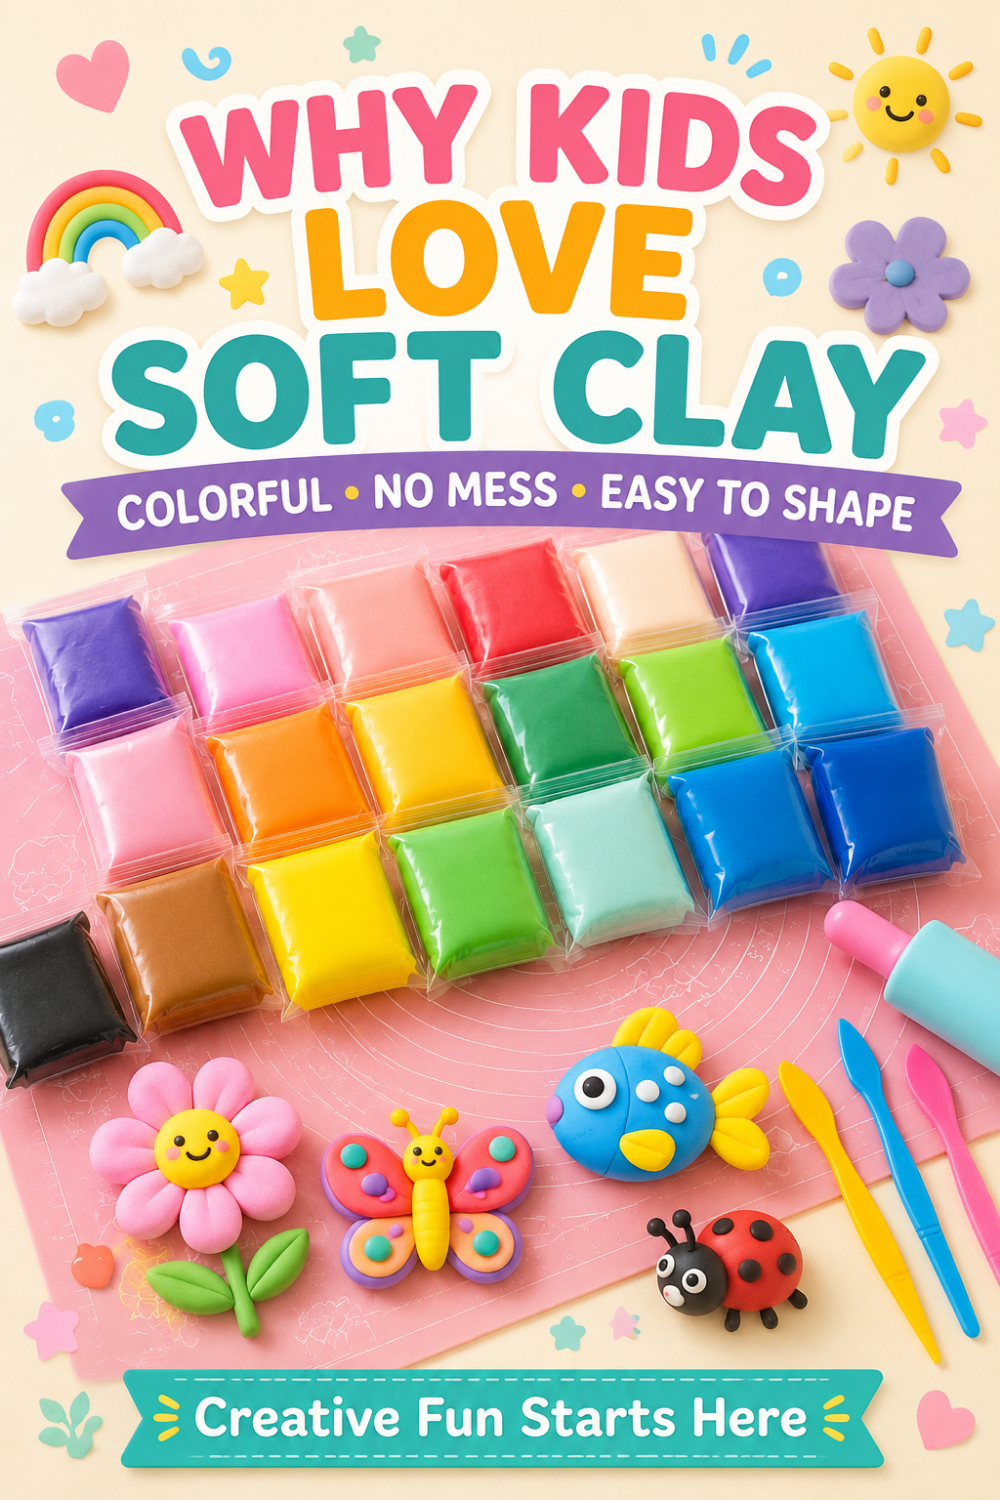
Soft modeling clay is sold under names like magic clay, foam clay, super light clay, or DIY modeling clay. It comes in a box of dozens of tiny pre colored blocks. It is feather light, springy, and slightly foamy in texture. Pieces stick together with nothing but a firm press. It air dries in roughly a day and stays a little bouncy, similar to a soft eraser. There is no painting step because the color is already in the clay.
Traditional air dry clay is the heavy stuff, usually white, grey, or terracotta, sold in a solid block. You need water and scoring to join pieces. It takes days to dry, cracks if it is too thick, dries rock hard, and then needs painting and sealing.
Both get labeled “air dry clay” on the box, which is where the confusion comes from.
This post is written for the soft, colorful kind, because it is by far the easier starting point for children. No paint, no wait, no water mess, no cracking, and a five year old can join two pieces without help.
If you are working with the heavy traditional kind instead, most of these project ideas still apply. You will just need to add water to your seams, dry the pieces longer, and paint at the end.
Why the Soft Kind Wins for Family Craft Days
A few reasons this is the version I keep buying:
- No sticky hands. It does not smear the way play dough does, and it wipes off the table.
- No paint step. The color is built in, so a project can be finished and admired in one sitting instead of stalling for two days.
- It is forgiving. Squish it, restart it, try again. For a kid who melts down when the result does not match the picture in their head, that reset button matters more than you might expect.
- It joins itself. Press two pieces together firmly and they stay. No slip, no water, no scoring.
- It dries light. A charm made from soft clay weighs almost nothing, so it will not drag down a backpack zipper.
- It is quiet work. Rolling, pinching, smoothing. Hands busy, one small task at a time. I have watched a very wound up child go still over a lump of clay in a way that no amount of asking them to calm down ever accomplished.
It also solves the age gap problem. A four year old can make a fat little cloud while a ten year old builds a detailed fox and a teenager works on tiny food. Same table, same box, nobody bored.
Sit down and make something yourself, too. Kids need to see grown ups make things badly and enjoy it anyway.
What You Actually Need
The list is short, which is most of the appeal.
- A set of soft air dry modeling clay in a good range of colors. Most kits include a few plastic sculpting tools.
- A placemat, silicone mat, or sheet of parchment paper to protect the table
- Toothpicks for poking texture and tiny details
- A flat tray or plate to hold the finished pieces while they dry
- An airtight bag or container for the leftovers
Nice to have later:
- Small googly eyes if your kids love them, and most do
- Fine tip permanent markers for drawing faces onto dried pieces
- Eye pins, jump rings, and keychain rings for charms
- Craft glue for attaching pieces after they have dried
- Small cookie cutters or letter stamps
That is honestly it. No rolling pin required, no paintbrushes, no water cup. Younger kids do not need a tray of twenty tools either. Too many choices become their own distraction. One shaping tool and a toothpick covers nearly everything.
One thing to skip: water. Soft clay does not need it, and adding it turns the clay slimy and unusable. If your kids are used to traditional clay or ceramics, this is the habit to break on day one.
Setting Up in a Real Kitchen
Pinterest craft corners are lovely. Most of us are working at the kitchen table with breakfast crumbs still in play.
Somebody will need a snack four minutes in. A toddler will grab the exact color their big sister needed. This is normal, and a little prep helps.
Cover the table before you call anyone over. Once kids are in the room, the setup window has closed.
Hand out a few colors at a time rather than the whole box. This keeps every shade from ending up as one grey ball within ten minutes, and it makes the clay last a lot longer.
Seal the rest immediately. This is the single most important habit with soft clay. It dries out fast in open air, and a block left on the table during dinner may be firm by bedtime. Zip the bag, close the container, put the lid back.
Give each child a tray or plate so their pieces stay theirs.
Keep dark colors like red, black, and deep blue away from light fabric and pale countertops. They can leave a faint tint on hands or surfaces before they set. It comes off with soap, but I would not craft in a white shirt.
Then let them at it.
The Two Skills That Make Everything Easier
Teach these two things and your kids can make almost anything on this list without you.
Think in shapes, not in animals
If a project feels overwhelming, break it into simple parts:
- A ball becomes a head
- An oval becomes a body
- A flattened circle becomes a face or a base
- A short rope becomes a tail, a stem, or an arm
- A teardrop becomes an ear, a wing, a leaf, or a petal
Suddenly a panda is not a panda. It is one white oval, two black balls, two flattened eye patches, a nose, and four little legs. That is a list a seven year old can handle.
To attach pieces, just press them together firmly and hold for a second. Soft clay bonds to itself while it is fresh. Smooth the seam with a fingertip if you want it invisible.
Two small structural notes. Keep bodies low and bases wide so the piece does not lean while it sets. And keep the clay on the thicker side, because very thin pieces get fragile once dry.
Mix your own colors
This is half the fun and most people never think to try it.
Soft clay blends beautifully. Pinch off two colors, knead them together until the streaks disappear, and you have a brand new shade. A little white lightens anything into a soft pastel.
A few worth trying:
- Pink and white for a blush pastel
- Red and yellow for pumpkin orange
- Blue and green for ocean teal
- Brown and white for a soft fawn or caramel
- Any color plus a speck of black for a deeper, mossier version
Stop kneading early and you get a marbled swirl, which looks wonderful on planets, shells, and anything meant to look magical.
Kids who are not that interested in sculpting are often completely absorbed by the mixing.
1. Simple Animals Kids Can Actually Make
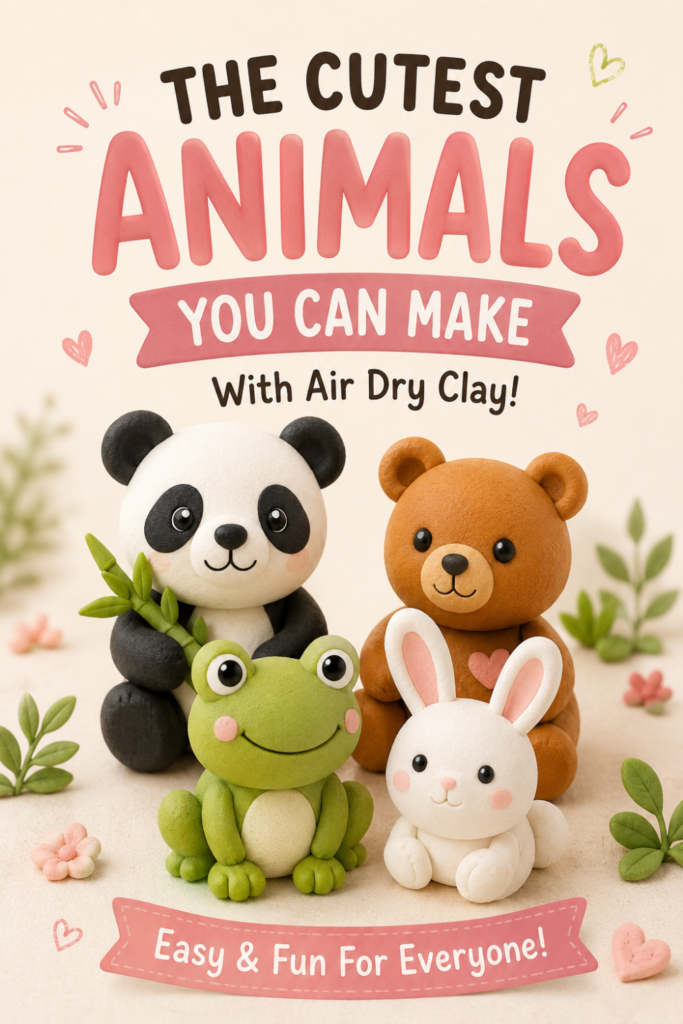
Animals are the best starting point because almost all of them come from those same basic shapes.
A turtle is a rounded shell, a small head, four stubby legs, and a tail. A bunny is an oval body, a round head, two long ears, and little paws. A bear is two stacked balls. A frog is a round body, two big eyes on top, and four simple legs.
Let them go wild with color. A blue bear, a rainbow turtle, a pink frog, a bunny with flowers on her ears. Realism was never the point, and kids enjoy the whole thing more when nobody is checking the color chart.
Oversized eyes and round cheeks are easier to make than tiny detailed features, and they usually look sweeter anyway. A toothpick handles the nostrils, whiskers, and smile.
2. Tiny Food
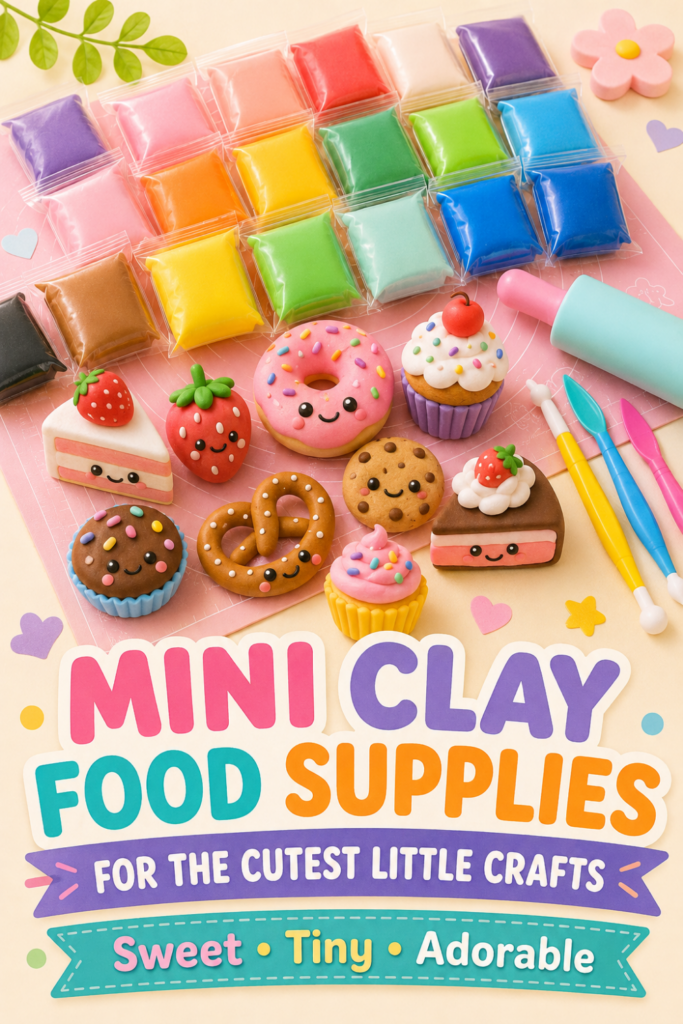
There is something delightful about a donut smaller than your thumbnail, and soft clay is perfect for it because the colors are already there.
Start with foods that have obvious shapes:
- A cookie is a flat tan circle with brown chips pressed in
- A donut is a thick ring with icing and tiny rolled sprinkles
- A strawberry is a red teardrop with green leaves and toothpick seeds
- A cake slice is a triangle with visible layers pressed together
- A chocolate bar is a rectangle scored into squares
- A pretzel is a long rope twisted into shape
Tiny food ends up in dollhouses, pretend bakeries, charm collections, and magnet sets. Older kids get very into the realistic details. Younger ones can make the same items three times bigger.
One safety note worth saying out loud. Finished clay food can look convincing. Make sure everyone, especially the little ones, knows it is not for eating.
3. A Tiny Animal Collection That Grows
This is the theme that turns into a months long project, in the best way.
Your child makes one animal this week and another next week, and eventually there is a whole zoo on the dresser. Pandas, bears, frogs, bunnies, turtles, cats, dogs, penguins, pigs, birds.
Older kids can start adding texture with a toothpick. Fur lines, feather marks, shell patterns, tiny claws. Younger ones usually prefer smooth shapes and big features.
Set the finished animals out with paper trees, a cardboard house, or a few smooth stones and you have an entire little world for pretend play. Because soft clay dries so light, the pieces are easy for small hands to move around without breaking.
4. Beach and Ocean Creations
Bright, cheerful, and perfect for summer or for the week when everyone wishes they were somewhere else.
Try turtles, whales, starfish, seashells, crabs, fish, octopuses, sandcastles, coral, and tiny beach signs.
A starfish is the easiest thing on this list. Flatten a ball, gently pull out five rounded points, poke dots with a toothpick. Done.
A whale is a rounded body, a tail, two side fins, and a little water spout. A shell starts as a flattened oval with curved lines pressed into it.
This is a great theme for practicing color mixing. Blend blue into white for sea foam, or swirl turquoise and cream together for a marbled shell. A hot pink octopus is also a completely valid life choice.
Arrange the dried pieces on a wooden tray with real shells and smooth stones for an easy summer display.
5. Unicorns, Dragons, and Other Magic
Fantasy is freeing because there is no right answer to compare against.
A unicorn can be white with a gold horn and a pink mane, or lime green with rainbow wings. Nobody can tell your child they got it wrong.
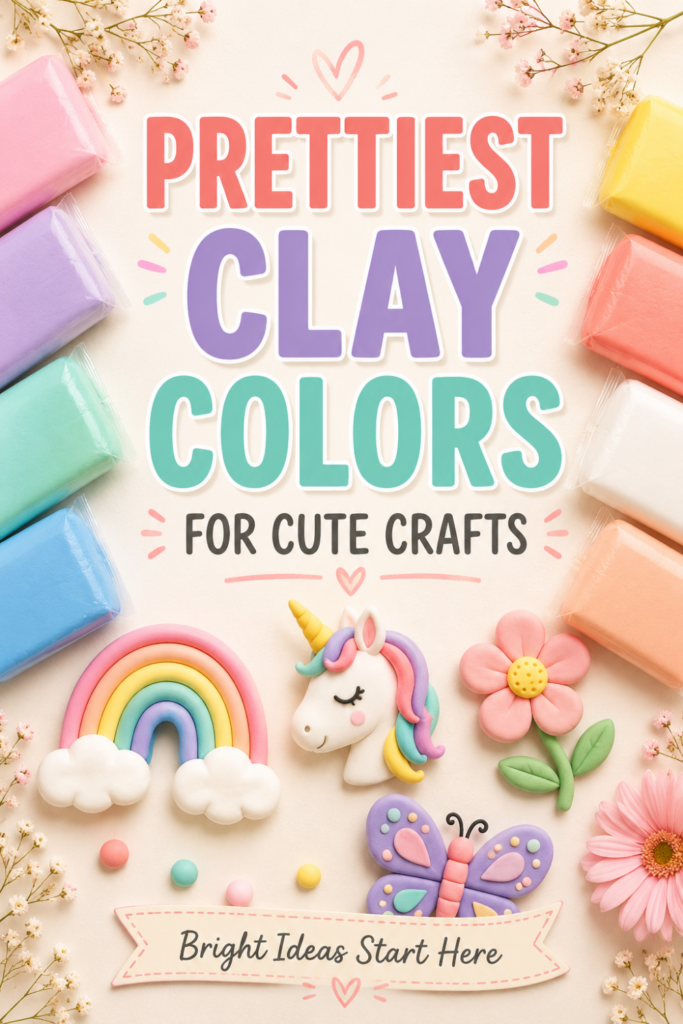
A seated unicorn is a rounded body, a head, four short legs, two ears, and a cone horn. The mane and tail are thin ropes of colorful clay laid side by side, which is very satisfying to make.
Other magic to try: rainbows, clouds, moons, stars, fairy doors, tiny castles, wands, dragon eggs, friendly dragons, and mermaid tails.
Marbled clay is gorgeous for dragon eggs and mermaid tails. Knead two colors halfway and stop while the swirls are still visible.
This theme works beautifully as a slow build. One piece per craft session, no pressure to finish a whole world in an afternoon. It is also a great birthday party activity. Portion out the colors, set a few ideas on the table, and let every kid make something nobody else has.
6. Cozy Woodland Friends
Woodland projects feel warm, and they are perfect for late summer through fall.
Foxes, deer, hedgehogs, owls, squirrels, mushrooms, acorns, leaves, and little tree stumps. The palette practically picks itself: rust, orange, brown, cream, mossy green, deep red.
A fox is an orange body with a white chest and muzzle. A hedgehog is a cream face with a pile of small brown teardrops layered across the back, which is fiddly but weirdly relaxing. A mushroom is a stem, a cap, and a few dots, which makes it a great first project for a nervous crafter.
Display them on a wooden slice with pinecones and dried leaves. If you homeschool, look at pictures of the real animals first and talk about where they live. It does not have to become a lesson. A little curiosity is plenty.
7. Flowers That Last Forever
Clay flowers are wonderful for kids who love color and small details.
A daisy is a yellow center with flattened white petals pressed around it. A rose is thin petals wrapped around a small center, which sounds harder than it is. Lavender is dozens of tiny purple bits pressed onto a green stem, and it is oddly satisfying work.
Flat flowers are the easiest because they set on a wide base and stay put. If you want a stem, keep it thick, because thin soft clay stems tend to droop before they dry.
Finished flowers turn into magnets, framed art, gift toppers, and charms. A handful of clay flowers glued onto a small canvas makes a Mother’s Day gift that actually gets kept, which is more than I can say for most macaroni art.
Try pressing a textured button or a bit of lace into a petal for detail, then lift it off carefully.
8. Space Adventures
Space is one of the few themes that gets equally enthusiastic responses from a five year old and a twelve year old.
Earth, the moon, Saturn, stars, rockets, astronauts, comets, aliens, and made up planets.
A rocket is a thick body, a cone top, side fins, a window, and short flame pieces at the bottom. Earth is a blue ball with flattened green shapes pressed on for land. Saturn is a round planet with a ring, and the ring needs to be chunky rather than delicate so it holds its shape.
This is the best possible use for marbling. Swirl blue and white for Earth, or purple and pink for an invented gas giant. Half kneaded clay looks exactly like planet cloud bands.
Display everything on a dark painted board with paper stars. Add labels and it turns into a legitimate school project.
The best part is when a kid makes an accurate Earth and Saturn, then adds a smiling purple planet with heart shaped rings. Both belong.
9. Keychains and Charms
Tweens love these because the finished thing is useful, not just decorative. Soft clay is ideal here since the charms end up almost weightless.
Good shapes: flowers, strawberries, clouds, hearts, stars, initials, leaves, tiny animals, and miniature food.
A few things that make the difference between a charm that lasts and one that tears in a backpack:
- Keep the clay thick. Thin soft clay gets fragile once it dries.
- Push the eye pin in before the clay dries, and add a small blob of clay over the base of the pin to lock it in place.
- Let it dry all the way through before attaching the ring.
- Treat it as a keepsake, not a toy. Dried soft clay is light and springy, but it will still tear if it is yanked.
Supervise closely around small metal findings, especially with younger siblings in the room.
These make sweet handmade gifts. A flower for a teacher, a strawberry for a best friend, a heart for grandma.
10. Decorated Pots, Jars, and Boxes
Here is one worth being honest about. Soft air dry clay cannot be made into a working plant pot. It is not waterproof, the walls are not strong enough, and moisture will ruin it.
But it is fantastic for decorating a container you already have.
Grab a small plain terracotta pot, a clean jam jar, a pencil cup, or a little wooden box. Then let your child add clay details to the outside. Ears and a face on the rim turn a plain pot into a cat, a frog, or a bear. Flowers, stars, or tiny mushrooms turn a jar into a treasure holder.
Press the pieces on firmly while the clay is fresh, and add a dot of craft glue underneath if you want them permanently secure once dry.
Drop an artificial succulent into the finished pot and you have a gift grandparents will keep on a windowsill for years. Add a handwritten tag and it becomes a real keepsake.
More Ideas for the Next Rainy Day
Ten themes is really just the beginning. When you have worked through those, here is where to go next:
- Fridge magnets made from flat shapes with a magnet glued on the back
- Ornaments with a ribbon loop pressed in before drying
- Bookmarks with a small clay charm on a ribbon
- Letter beads with a hole poked through for name bracelets
- Fairy doors to prop against a tree in the yard
- Dinosaurs and monsters for the kid who has no interest in bunnies
- A tic tac toe set with two sets of five matching pieces
- Seasonal shapes like pumpkins, snowmen, hearts, shamrocks, and eggs
- Miniature houses for a shelf village that grows a little every winter
- Pet portraits, which come out wonky and hilarious and always get treasured
- Cake toppers for a birthday, sitting on the frosting in a small paper cup
- Pencil toppers pressed onto the end of a pencil
- A tiny food advent where they make one miniature per day in December
- Doll house accessories for a doll house that needed something new
- Place cards for a holiday table they helped set
Save this list somewhere. It has rescued more than one long weekend.
Little Hands: Toddlers and Preschoolers
Small children adore this clay because it is soft enough for weak little fingers, and they get frustrated fast when the pieces are tiny.
Keep it big and simple. Clouds, stars, hearts, turtles, mushrooms, flat flowers, simple faces.
You can pre roll a few balls to get them started, but let them do as much as they can manage themselves.
Instead of six precise steps, use gentle questions:
“Let’s make the body first.”
“What kind of ears should it have?”
“Do you want to add eyes?”
“What color should the tail be?”
That keeps it playful instead of turning it into an assignment they can fail.
Please supervise closely with this age group. Small pieces are a choking hazard, the clay is not food no matter how much a finished donut looks like one, and toothpicks and keychain hardware are not toddler appropriate. Check the age guidance printed on the package before you open it.
Keeping Craft Time Calm Enough
Craft time does not have to be peaceful to be worth doing.
There will be mixed colors and at least one child who announces they are finished after four minutes. A few small choices still help:
- Set up before you call anyone over
- Put out only the colors needed for today
- Give each child a tray so their pieces stay theirs
- Reseal the clay every single time you walk away
- Let kids stop when they are done, even if you are not
- Resist correcting the small stuff
- Take a photo before you move anything delicate
That last one matters more than you think. Freshly made pieces have a way of losing an ear between the table and the shelf.
Drying Soft Air Dry Clay
This is where soft clay is dramatically easier than the traditional kind.
Small pieces usually firm up within about a day, and thicker ones can take two or three. Check the package, since brands vary.
Set the finished pieces on a tray somewhere safe, out of direct sunlight and away from heaters and vents. No oven, ever, unless the package specifically says otherwise.
You do not need to worry much about cracking, which is the main headache with heavy clay. Soft clay dries evenly and stays flexible. It does shrink a little as it dries, so a piece may end up slightly smaller than it started.
Once dry, the finished piece is very light and a bit springy, like a firm foam eraser. It will not chip, but a thin piece can tear if it gets bent hard.
Dried soft clay cannot be softened again, so anything left uncovered is gone for good. That is the one real rule.
If a piece breaks or something falls off after drying, ordinary craft glue puts it back together.
Do You Need to Paint It?
No, and this is the best part.
The color is already in the clay, so the project is finished the moment it dries. No second craft session, no waiting for coats to dry, no brushes to wash.
Two optional extras if your kids want more detail:
- A fine tip permanent marker draws lovely faces, freckles, and little dots on a fully dried piece
- Acrylic craft paint will stick to dried soft clay if you are working with a plain white set, though it can look uneven on the springy surface
Sealing is not necessary either. It will not make the piece stronger. Just keep the finished creations dry and handle them gently.
Storing the Leftover Clay
Worth its own section, because this is where a whole box gets wasted.
Soft clay begins drying the second the wrapper opens. Small blocks can go firm in a couple of hours on the table.
Press the leftover into a ball, wrap it tightly in plastic wrap, and put it in a zip top bag with the air squeezed out. A small airtight container works too.
Store the unopened blocks in their original wrappers inside the box, sealed in a bag.
Once a piece has fully hardened, it will not come back. Water does not revive it. This is the one thing I would put on a sticky note on the lid.
What to Do With All of It
Once things dry, the fun does not have to stop.
- Give the pieces a real display shelf
- Build a miniature scene with paper trees and stones
- Use the sturdy pieces for gentle pretend play
- Glue magnets on the flat ones
- Turn charms into keychains and zipper pulls
- Wrap sculptures as gifts
- Set up a seasonal table display
- Tie a small piece onto a wrapped present instead of a bow
- Build a shadow box
- Photograph everything for a little art book
Collections are especially satisfying. Ocean animals live together. Tiny food becomes a pretend bakery. Woodland creatures get a tray with pinecones. Flowers go in a jar.
You do not have to keep everything forever. But giving the pieces a real spot for a while tells your child that what they made counts for something.
A Gentle Word for the Mom at the Table
Pinterest makes this look effortless. Clean table, coordinated colors, spotless hands, every petal identical.
Your afternoon will not look like that.
The turtle will have six legs. The unicorn will lean. Somebody will knead four colors into a muddy brown and be delighted about it. The flower will look nothing like the example.
None of that means it did not work.
Your child made decisions. They used their hands. They practiced patience they did not know they had. They made a thing that is entirely, specifically theirs.
You gave them the time and the space. That was the whole assignment.
Very often the piece that looks the least polished is the one they are proudest of, because they made it without anyone reaching in to help.
So try not to straighten every edge or nudge every crooked eye into place.
Let it be theirs.
Common Questions About Soft Air Dry Clay
What is the difference between soft modeling clay and regular air dry clay? Soft modeling clay, also called magic clay or foam clay, is lightweight, comes pre colored, sticks to itself without water, and dries in about a day with a springy finish. Traditional air dry clay is heavy, usually white or terracotta, needs water to join pieces, dries rock hard over several days, and has to be painted afterward.
Is it safe for kids? Most kits sold for children are labeled non toxic, but always check the packaging for age guidance and safety details. Supervise young children, since small pieces can be a choking hazard and finished food sculptures can look convincingly edible.
How long does it take to dry? Small pieces are usually firm within about a day. Thicker sculptures can take two or three. Drying time depends on the brand, the thickness, and how humid your house is.
Do you have to paint it? No. The color is already in the clay, which is exactly why this type works so well for kids. A fine tip permanent marker is all you need for extra details.
Can you mix the colors together? Yes, and it is one of the best parts. Knead two colors until the streaks disappear for a new shade, or stop early for a marbled swirl.
Does it crack? Rarely, which is another advantage over traditional clay. It shrinks slightly as it dries and stays a little flexible instead of going brittle.
Can you use water with it? No. Water makes soft clay sticky and slimy, and it will not fix a piece that has already started to harden. Keep the water cup off the table entirely.
How do you store the leftovers? Wrap each color tightly in plastic wrap and seal it in an airtight bag or container right after crafting. Clay left in open air hardens permanently and cannot be revived.
Can you make a plant pot out of it? Not a working one. It is not waterproof and the walls are not strong enough. Decorate the outside of a real pot with clay details instead, and use an artificial plant.
Final Thoughts
Soft air dry clay turns an ordinary afternoon into something creative without much effort from you.
It is simple enough for a first timer, flexible enough for every age at your table, and open ended enough that you can come back to it a dozen times without repeating yourself. One box becomes turtles, flowers, cupcakes, rockets, keychains, woodland animals, and an entire imaginary world.
Pick one idea that sounds manageable. Cover the table. Hand out a few colors. Let go of the idea that any of it needs to look perfect.
Then sit down with them and see what happens.
The best part is usually not the sculpture. It is the quiet concentration, the ridiculous conversation, the “look what I made,” and the fact that everybody stayed at the table a little longer than they meant to.
Those afternoons are worth making room for.